
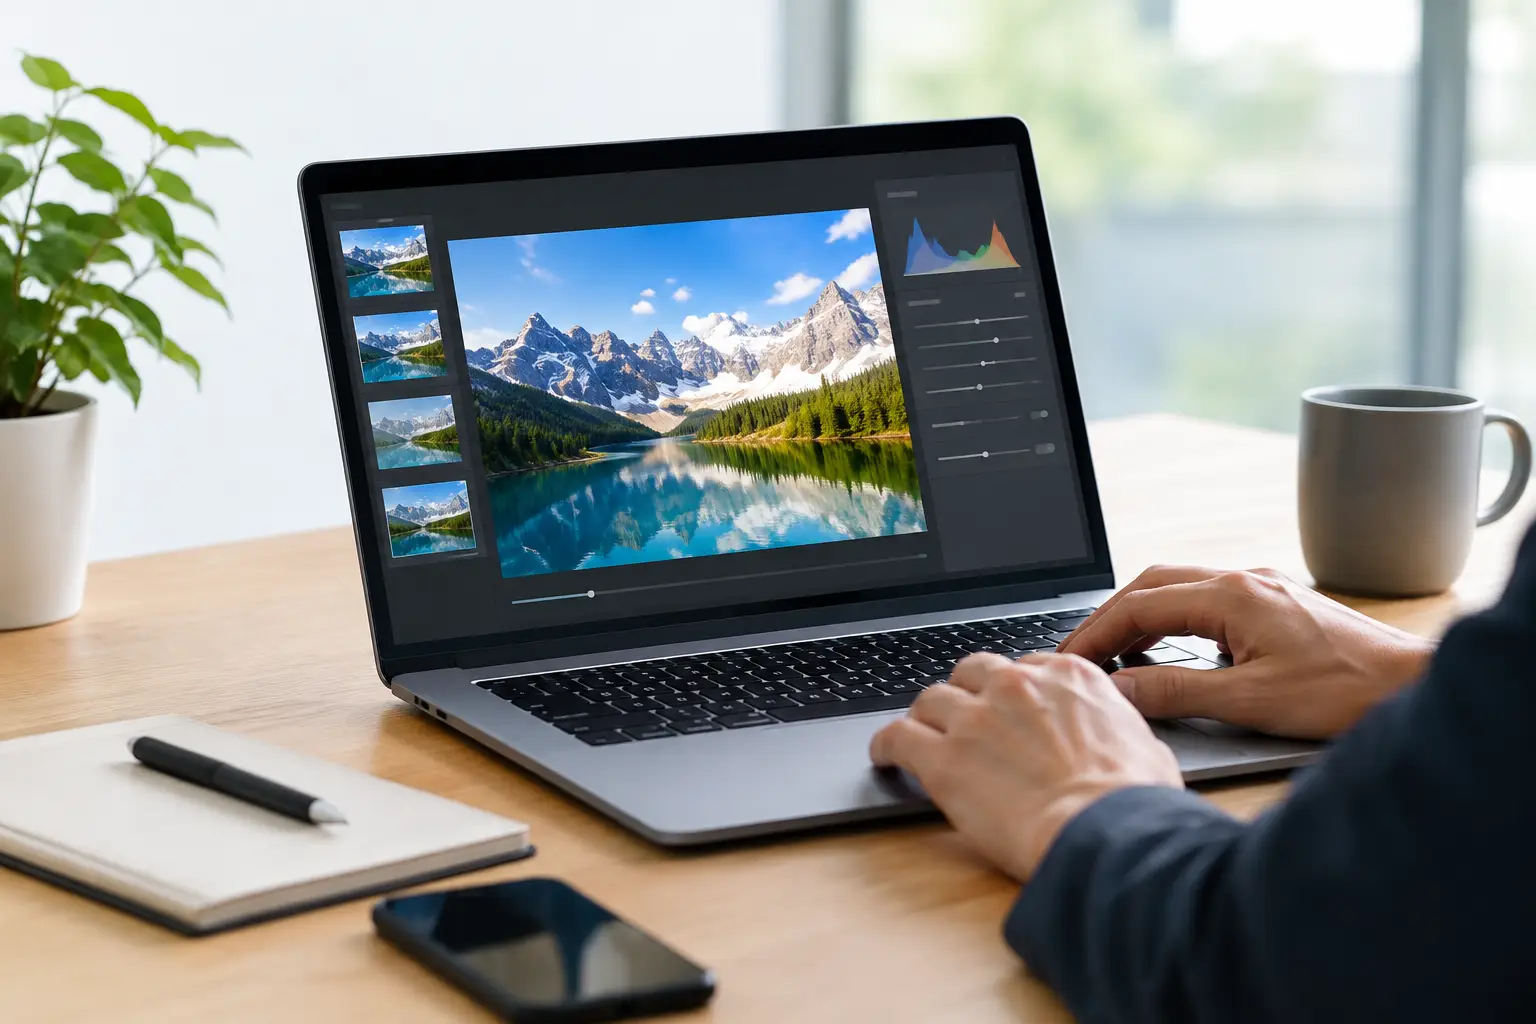
A large homepage photograph can be the difference between a page that feels credible and one that feels slow. The objective is not to remove imagery. It is to understand how to optimise website images so they support search visibility, page speed and customer confidence at the same time.
For a business website, every image should have a clear job. It may show a completed project, explain a service, help a visitor recognise a product or provide reassurance before an enquiry. If it does none of these things, it may be adding page weight without adding value.
Start with the image’s purpose
Before changing file settings, review the image in context. A large hero image needs enough quality to look professional on a wide screen. A small supporting image lower on the page does not need the same file size. Product photographs may need fine detail, while decorative background graphics can often be compressed more heavily or replaced with a simple design treatment.
This distinction matters because optimisation is a balance. Aggressive compression may reduce loading time but introduce blurred edges, colour banding or poor detail. A sharp, relevant image that loads promptly is the requirement. The smallest possible file is not always the best result.
Use original photography where it helps customers assess your business. Genuine team, premises, project and product images are harder for competitors to replicate, and they can make a service page more convincing. Stock images have a place, but generic visuals rarely add much search value or trust.
Choose the right image format
Format selection has a direct effect on file size. Modern formats are usually the best starting point for photographs and complex graphics.
WebP is widely supported and commonly provides a smaller file than JPEG at a comparable visual quality. AVIF can reduce files further, particularly for photographs, although encoding can be slower and results should be checked carefully. JPEG remains useful where older workflows or systems require it. PNG is best reserved for images that genuinely need transparency or very crisp graphic detail, as photographic PNG files are often unnecessarily large.
SVG is different. It is generally ideal for logos, icons and simple illustrations because it remains sharp at any size and is often lightweight. It is not suitable for photographs.
Do not convert every image without checking the result. A logo saved as a poorly prepared SVG can still cause issues, while an AVIF image may not be worthwhile if the visual benefit is negligible and your publishing process becomes difficult to manage. Use the format that meets the purpose with the lowest sensible weight.
Resize images before uploading
One of the most common problems is uploading an image far larger than the space where it appears. If a page displays an image at 800 pixels wide, sending a 4,000-pixel image asks the visitor’s browser to download and shrink information it does not need.
Set practical maximum dimensions for the layouts on your website. A full-width banner may require a larger source file than a blog image or service-page photograph. Account for high-density screens, but do not multiply every dimension without reason. In many cases, supplying an image at around twice its displayed width is sufficient for a clear result.
Cropping is also part of optimisation. Crop an image to the required aspect ratio before upload rather than relying on the browser to hide large areas of it. This keeps the focal point where it belongs and reduces wasted data.
Compress without making the page look cheap
Compression removes data from an image file. Lossy compression produces smaller files by discarding information that is unlikely to be noticed. Lossless compression preserves all image data but usually gives smaller savings.
For most website photographs, controlled lossy compression is appropriate. Check images at normal viewing size on both desktop and mobile, especially photographs containing text, faces, fine patterns or strong colour gradients. These areas reveal poor compression quickly.
Create a repeatable publishing standard. For example, your team might resize each image to the largest likely display size, save it in WebP, review the quality and then upload it with the correct description. A consistent process prevents one uncompressed image from undermining an otherwise fast page.
How to optimise website images for SEO
Search engines cannot assess an image in the same way a person can. They use surrounding page content, technical signals and image information to understand what it represents. This is where sensible naming and alt text help.
Name files descriptively before uploading them. A name such as `maidstone-kitchen-extension-exterior.webp` gives more useful context than `IMG_4821.webp`. Keep names short, accurate and separated by hyphens. Do not force a string of locations or keywords into the filename. That reads poorly and can create a low-quality signal.
Alt text should describe the image for people using screen readers and for situations where the image cannot be loaded. It is not a place to repeat target phrases. If a photograph shows a completed loft conversion, say so in plain language. If the image is purely decorative and adds no information, an empty alt attribute is often the correct accessibility choice.
The page itself still does most of the SEO work. An image of a service should sit near relevant explanatory text, under a meaningful heading, rather than being uploaded to an unrelated page simply because its filename includes a keyword. Context is stronger than repetition.
Serve the right size to each screen
Mobile visitors should not have to download the same oversized images sent to a large desktop monitor. Responsive image delivery allows a website to provide different image sizes according to the visitor’s screen and browser requirements.
Most modern content management systems and website frameworks can generate multiple sizes automatically. Check that this feature is active and that your templates use it correctly. If your site uses only one original file for every device, the speed gains from compression may be limited.
Set image width and height attributes as well. This tells the browser how much page space to reserve before the image arrives. Without those dimensions, content can jump as images load, creating an unstable experience. This movement is frustrating for users and can affect page experience signals.
Prioritise the image visitors see first
The main image near the top of a page is often the largest visible element. If it is slow, the page can appear unfinished even when the text has loaded. Optimise this image with particular care: use an appropriately sized source, a modern format and a strong compression setting that still looks professional.
Lazy loading is useful for images further down the page because they do not need to load until the visitor approaches them. However, do not lazy-load the primary image at the top of the page. Delaying the image that visitors need immediately can make the page feel slower, not faster.
Background images need attention too. They are sometimes overlooked because they are added through page styling rather than the media library. A large background photograph can be one of the heaviest assets on a site. Treat it with the same resizing, compression and responsive-delivery discipline as any other image.
Check the page after publishing
Image optimisation is not complete at upload. View the live page on a mobile connection where possible. Look for slow hero images, blurry photographs, awkward crops and layout movement. A desktop office connection can hide problems that are obvious to a potential customer using a phone.
Review pages with speed-testing tools, but interpret the results properly. A recommendation to save a few kilobytes is less significant than a large top-of-page image delaying the first meaningful view. Fix the assets that have a visible effect first.
Also review image use across the site. Repeated decorative images, unused media files and large images loaded on every page can create avoidable overhead. A leaner template often produces a better long-term result than repeatedly compressing files around an inefficient layout.
Build image optimisation into normal website maintenance
The most effective approach is procedural rather than occasional. Make image checks part of publishing a new page, adding a case study or updating a product range. Confirm the image purpose, dimensions, format, compression, filename, alt text and on-page display before the work goes live.
For established websites, begin with the pages that generate enquiries or receive the most organic traffic. Improving a slow service page or a key landing page is usually more valuable than working through every archive image in date order. If a page is central to your sales process, its imagery should help it load quickly and explain the offer clearly.
Well-optimised images do not call attention to their technical work. They simply appear sharp, load promptly and give visitors the confidence to continue. That is the standard worth maintaining each time a new image is added.